I am absolutely in love with the Colorhue brand of dyes for protein fibers. What’s not to love about instant set dyes (no heat or time required) at affordable prices? Since I am going to be doing a tutorial later this month on how to dye scarves with this method and a full product review for another site, I’ll just show you some of the results I’ve gotten with this product. I’m utterly addicted!

The dyes come in a very concentrated form, sorry I haven’t taken a picture of them in their packaging. While the instructions say to use just a few drops per half cup of water, I found that to be very pale. I use one eyedropper of concentrate per ounce of distilled water. The first few I did used less than that, so you’ll see that some are more pastel. (Squirt bottles are not required, it depends on what sort of dye techniques you will be using, so far I have been doing what is known as “bread bag” dyeing, a low-water technique.)
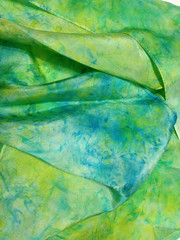
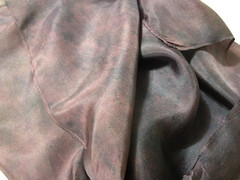
Once you’ve mixed the solution (and there are no toxicity issues here!) you need something to dye. I had ordered a large batch of scarves from DharmaTrading.com — they have fantastic prices and a wide assortment of sizes. You can also buy the Colorhue Dye from them directly, although I had bought mine from a vendor at SAFF. I also bought a pillowcase because I often have flareups of dermatitis on my face and having a silk pillowcase is very soothing. Plus I did one experiment with some wool. I’ve since bought a lot more wool to dye but that will have to wait until after my move, alas. So first I started with some silk chiffon scarves that I bought at SAFF when I bought the dyes. These are very sheer so it is hard to see the true colors in the photos. Also this was when I was using one dropper of dye to two ounces of water, so the colors are less intense. 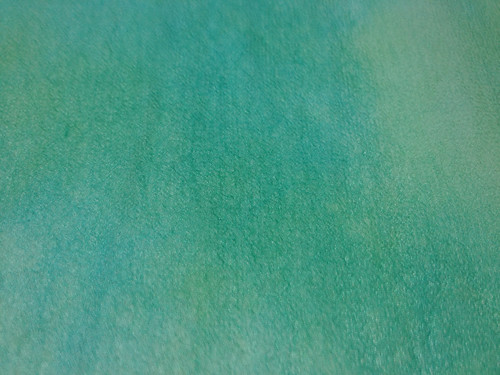

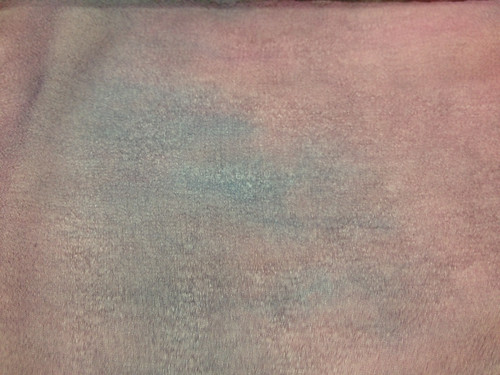
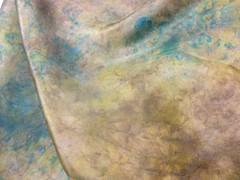
 Because these scarves were chiffon it was very hard to photograph them properly and it is hard to see the color distinctions. I have learned a bit more on how to make the variations in color and tone more obvious with more concentrated dyes and different base fabrics, but you’ll just have to trust me when I say these are a lot prettier in real life. Here’s the first batch all together:
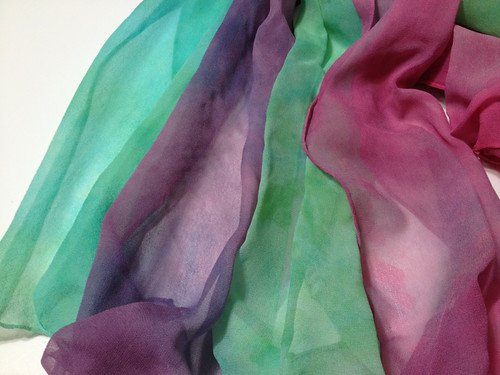
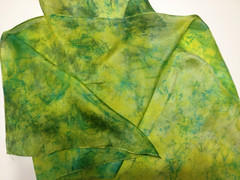
This image shows a bit more of the intensity, plus it’s a little easier to see the mottled shading. I dyed all of these twice as the colors were just too pale the first time so I kept layering more dye on them. This is why I doubled the concentration of my dyes the next time I mixed a batch. After these scarves I moved on to the pillow case: 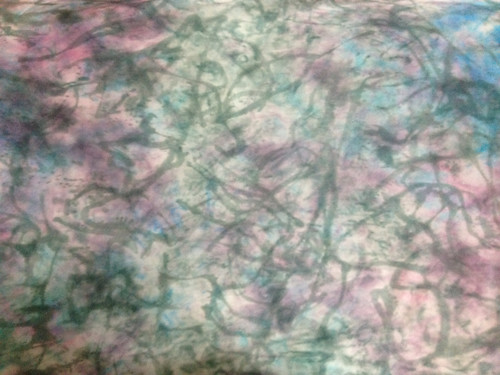 Again I had to keep going back and adding more dye, I still think the colors are far more pastel than I’d like (it really doesn’t match any of my bedding). In a final act of frustration I wrung out most of the water and them drizzled the black over the top. I love the effect the black had but I’m still debating redyeing the colored bits to be more intense. Or maybe just doing another pillowcase 🙂 At the same time I tried a bit of wool, like the kind used for applique and rug hooking. Again the colors were very pastel, due to the diluted dye mixture. I do sometimes need pastel so I will probably not redye this one, but will definitely use more concentrated solution in the future.
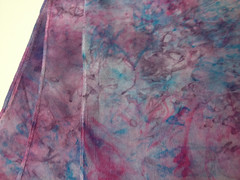
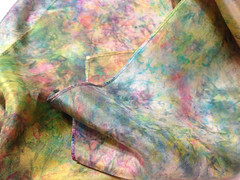
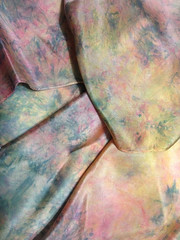
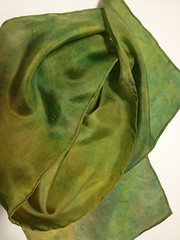
 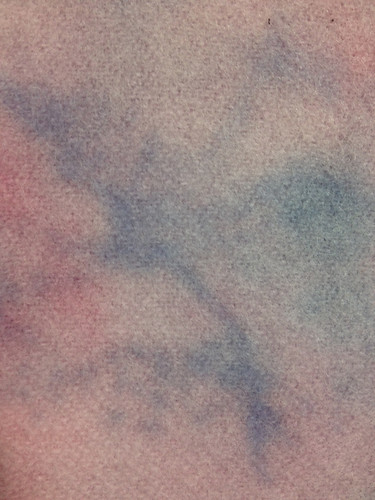 I did a few scarves in the habotai silk, but wound up redyeing most of them (as I will show you later). By this point I was fed up with the pastel shades and doubled the amount of dye in my mixtures. From this point I become a MUCH happier camper. Here are a slew of examples:
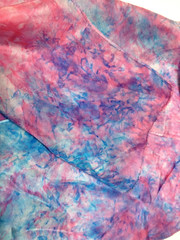
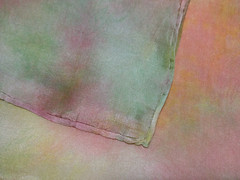
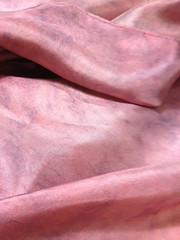
Unfortunately I still don’t have a light tent so not all of these photos are true to color. However I think they give you a decent idea of the range of palettes you can achieve with the basic Colorhue starter set. Remember how I said I’d re-dyed a few of the too-pale ones? Here they are, for comparison:
This one (first, pink) was OK, but didn’t go with my mother’s wardrobe, so I went to a more plum shade (second photo). The image doesn’t really do that one justice, the shinyess of the silk makes it look lighter than it really is.
So — these are my experiments so far. I can honestly say I am hooked. I’ve already got more wool and will be ordering more scarves as soon as payday comes around. Although I have no intention of selling crafts for personal profits (most of these have been given away already or are waiting to be given away), I am wondering if this might not be a good way to raise funds for my charity. If I *did* sell these scarves, what do you think would be a fair price for them? I know that handdyed silk usually fetches a decent amount, fair above what the supplies cost, but I’d like to make them affordable yet profitable enough to help the charity. Suggestions?

Hi! Love your scarves! I even like the pastel shades that you weren’t so happy with. I found your blog while searching for more info and reviews on these dyes. I wanted to dye a dress a solid color, it’s a silk/ cotton blend, and I wanted to avoid hot water for fear of shrinkage. Any thoughts on dying something larger than a scarf, or about the blend in fabric?
Hi, thanks for your comment! I have been working with more fabrics with the Colorhue and to be very honest they haven’t be taking on most other fabrics, not even they ones they claim to work well on like rayon and wool so I’d be extremely leery about the cotton part of the blend. I’d actually try a Dylon cold water dye if you can get it, that works really well on cotton, not so sure about the silk part, but you could dye it in Dylon first and overdye in in Colorhue. That would potentially change the shade a little bit but it would still have an even color across the dress. If you want more information on how you’d do this let me know 🙂
(I’m emailing this so you as I can’t remember if WordPress automatically emails you a copy of this or not.)
Continue the good work and people will continue to come to your blog! I have been updating my blogs, as well.
OMG, thank you! I’ve got the silk pocket squares and colorhue dyes from Dharma for my daughter’s fiance and bridegrooms for their wedding and have been searching for how to use them – without wasting a ton of time. I really appreciate your tutorial. Have had a little experience with dyeing and this will really make my process much easier. Will do a tute on my blog and link to yours for the complete information. I’ll search for more posts here on your blog. Have I thanked you enough times?
Greetings, Diana! I am so honored that you have stopped by my little blog. I haven’t been writing much this past year, so other than the three posts on Colorhue I haven’t written much (the tutorial you saw, the tutorial on mixing the dye and the experiments photos) but I have continued to use and refine my techniques with this product. The most important things are to always handwash after dyeing as machine washing (even with something gentle) will deplete the colors and that Colorhue, despite what the package says, only works on silk. The latter is obviously not a problem for your pocket handkerchiefs 🙂 I still have not perfected mixing red, unfortunately, but I know that the secret is to start with the yellow and add a tiny amount of rose at a time. I always seem to overdo it and get orange 🙁 Also be careful if you want very crisp color definition and want to use the goldenrod; I find the gold blurs things quite a bit, I don’t know why. You still get splotches of color but not the finely detailed swirls and marbled looks you can get without it. I’m wondering if the answer to that is to dye the item with all other colors first, rinse out and then add the gold last. That’s on my to-experiment list. Finally, I have been having trouble with the orange/pumpkin lately. It worked for me for a while but now it washes out almost every time. I wonder (since it is the same small bottle I have had for over a year) if that dye just doesn’t go off faster than other colors and thus needs to be used when freshly bought.
Finally, for the most dramatic impact, I find coloring the item first, wringing it all out (pour out the water if using a bag or other container) and then adding a dark color for the very last step gives stunning results. I had been using the darkest color last but with the other discharged water still there and that was blurring the effect.
If you have any other questions, please just ask! I am playing around more on Thursday with them for some gifts (for Friday, this is great for those last minute items 😉 ) so I’d be happy to try something out for you so you don’t need to waste any pocket silks.
Thanks for coming by!
–Juliann
I am new at silk dyeing/painting and stumbled on ColorHue by accident. I love it! Most of my sisters and a few nieces have come over to do their own scarves. Like yourself, I went by the directions and got the pastel colors…nice but not enough color for me. I added more dye and am SO PLEASED with the results. Anyway, I am attempting the next step and I would like to try using Color Hue to actually paint on silk. I ordered resists from Dharma. My concern is if the Color Hue is vibrant enough. I am one of those who needs to see the results immediately so don’t want to use a product that will require mixing…fumes…etc. I intend to share this project with all my grandchildren so want a safe project.
Any thoughts?
Blessings,
Chris