iHanna does some of the most amazing things at her blog, you should seriously check it out! One of the things she has turned me on to are the myriad of challenges around various crafty sites. I decided to start the Green Pepper Press Crusades which are monthly challenges in various paper-crafting techniques. April’s challenge was cutting your own stencils. (I want to note that I did technically do this in April, but the deadline for posting was extended to May 7 so I’m on time anyway 🙂 )
The tutorial Michelle Ward posted on the Crusade site is very good and if you are interested in making your own stencils I suggest you go read it now and come back here later 🙂 I do not have a burner tool so I just had to make do with craft knives.
The first step is to decide what you want your stencil to be. Michelle noted that it’s handy if you can cut the stencil all in one cut so that you will have both a stencil (piece of plastic with a bit cut out of it) and a mask (cut-out shape that stands on its own). There are good reasons for wanting both to work together, but this post is going to be too long already so I won’t go into them.
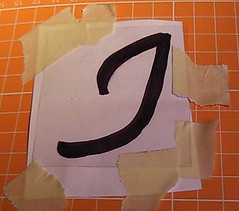
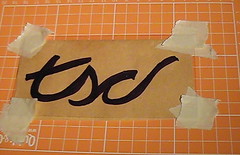
I decided that I wanted to start with a letter “J” (for Juliann, of course!). I scouted around my large collection of fonts and found very many suitable ones but really wanted to draw my own so I doodled a little and came up with a letter similar to my actual handwriting but with clean lines so it would be a little easier to cut. Then on a whim I also doodled with the letters “tsc” (for “The Sick Chick”) and was surprised when I came up with a design I liked for that, too.
Next, I drew out these designs in a larger size onto the backs of used envelopes. I ideally want something small enough to use for ATCs but figured that a larger size would be easier for this novice cutter. (As it turns out I think the J will fit on ATCs but only just.)
[You can click on any image for the full sized version.]
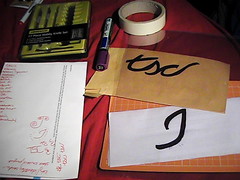
So here are my initial doodles, the larger designs drawn in marker, and more supplies for making stencils:
Cutting the Stencils and Masks
Next I taped things to the cutting mat to help steady them. First I taped the paper template, then I taped the plastic down over it. This helped a little but things were still a bit wobbly and the masking tape didn’t hold stuck through the whole process. Still it was better than nothing.
Taking a craft knife (Exacto, scalpel, whatever you have), carefully cut around the outlines *without picking up the knife*. I used a very small mat that I had gotten free from a magazine so I was able to turn the whole thing around any time I needed to change direction which made things a lot easier. If you do wind up lifting the knife, try to start cutting again as smoothly as possible. You can always go back and clean up joins later but this is a little hard (and you have to do it on both stencil and mask). Unfortunately, I didn’t think to photograph this stage as visually it was pretty boring and I was too busy trying to keep my knife firmly planted.
Using the Stencils and Masks
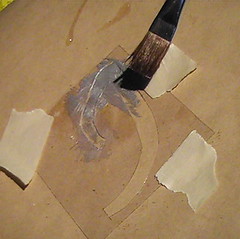
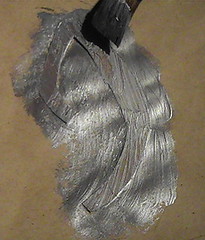
I used rubber cement to hold the stencil down as there we lots of little fiddly bits that wouldn’t stay in place just by taping the outside. You can rub off the rubber cement later after the paint has dried.
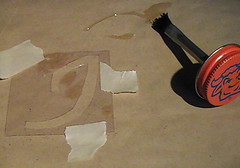
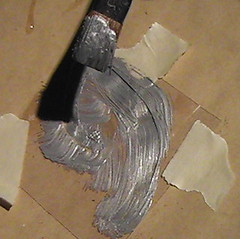
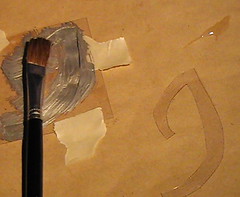
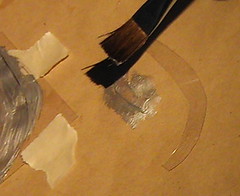
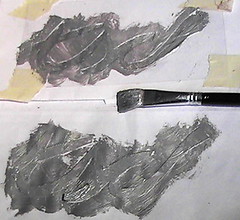
So here are a series of me painting the stencils and masks…

The Finished Products
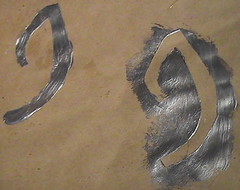
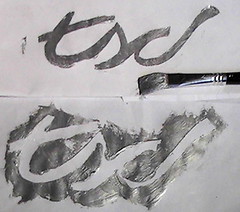
That’s just what they look like solo, I hope to make some art projects soon to incorporate them into.
I have enjoyed my first Crusade with the GPP Street Team and hope to be able to be involved in more projects in the future!